Your First API
Example Code
Examples from this module can be found on GitHub.
Hello FastAPI
Section titled “Hello FastAPI”In this course, you will learn how to develop an application that implements a REST web API. The package we will use is called FastAPI. FastAPI is a Python framework that uses modern language features such as async and type hints to easily configure web APIs. It is open source and actively maintained on GitHub. It has enjoyed remarkable success since being first released. Even though it is newer, FastAPI has more stars on GitHub than either Flask, or Django.
Onboarding
Section titled “Onboarding”I won’t spend a lot of time on configuring a development environment. Developing a FastAPI application doesn’t need much more than any other Python application. If you want to know more about the development environment used in this course, I would refer you to the onboarding section of the Python QuickStart. There you can learn about how to set up GitHub Codespaces for Python development. In this course, we will only use a couple of extensions for database exploration, making HTTP requests, and containers.
First, install the SQLite3 Editor extension by yy0931. We will eventually wire the API up to a database. This extension lets you peek inside and see the data at a glance. Next, install the REST Client extension by Huachao Mao. Instead of writing code to make HTTP requests to the API we will be developing, we will use this extension. It lets us configure HTTP requests in a text files and then execute them and see the results. Install the Docker extension from Microsoft. This extension will provide editor support for Dockerfiles and manage containers and images. We won’t deploy the containerized API in this course. However, we will get close.
FastAPI Boilerplate
Section titled “FastAPI Boilerplate”Before we can use the FastAPI package, it must be installed.
$ pip install "fastapi[standard]"The [standard] is what is referred to as an “extra”. The fastapi package includes only the core framework. However, during development other packages such as uvicorn as often used. The [standard] extra installs some of these packages and utilities.
In a file main.py, import the FastAPI application class from the fastapi module.
from fastapi import FastAPIAnd create a new instance of the application class.
app = FastAPI()One of the more commonly used keyword arguments to the FastAPI initializer is title. You can also give the API a version with the version keyword argument. And you can tell users a little about the API with the description keyword arguemnt. You’ll see how these are used by FastAPI shortly.
app = FastAPI( title="Cryptocurrency Manager", version="1.0.0", description="API for managing cryptocurrency portfolios",)Routing HTTP Requests
Section titled “Routing HTTP Requests”In FastAPI, HTTP requests are routed to plain old Python functions. The endpoint the request is sent to determines the function that is executed. Let’s write a function that simply returns a status to the client.
def api_status(): return {"status": "ok"}This is a Python function that returns a dictionary. When used to handle an HTTP request, FastAPI will convert the returned dictionary into JSON and include it in the body of an HTTP response. The next step is to map the function to an HTTP endpoint. When a request is sent to the endpoint, FastAPI will invoke the function.
@app.get("/status")def api_status(): return {"status": "ok"}In Python @app.get is what is known as a decorator. A decorator is a function that extends or modifies the behavior of another function. Decorators also work with classes and methods. Here the decorator is named get. The get decorator informs FastAPI that the api_status function should be invoked in response to an HTTP GET request. The get decorator accepts an endpoint as a parameter. Here that endpoint is /status. Now when the FastAPI application receives an HTTP GET request for the /status endpoint, it will invoke the api_status function. When the function returns the dictionary, FastAPI will convert it to a JSON object and include it in the body of the response.
Try the API
Section titled “Try the API”When you install the fastapi package with the [standard] extra, it includes a command line utility to start the FastAPI application running in a development server. At the command line run fastapi dev.
Note
If the
fastapi devcommand fails. Kill the terminal with by clicking the trash can icon in the terminal pane. Then open a new terminal and try again.
The development server will start on localhost and listen on port 8000. You can see this in the terminal window.

Ctrl + click (Command + click on macOS) the link http://127.0.0.1:8000. This will open the interactive documentation in the integrated browser in Visual Studio Code.
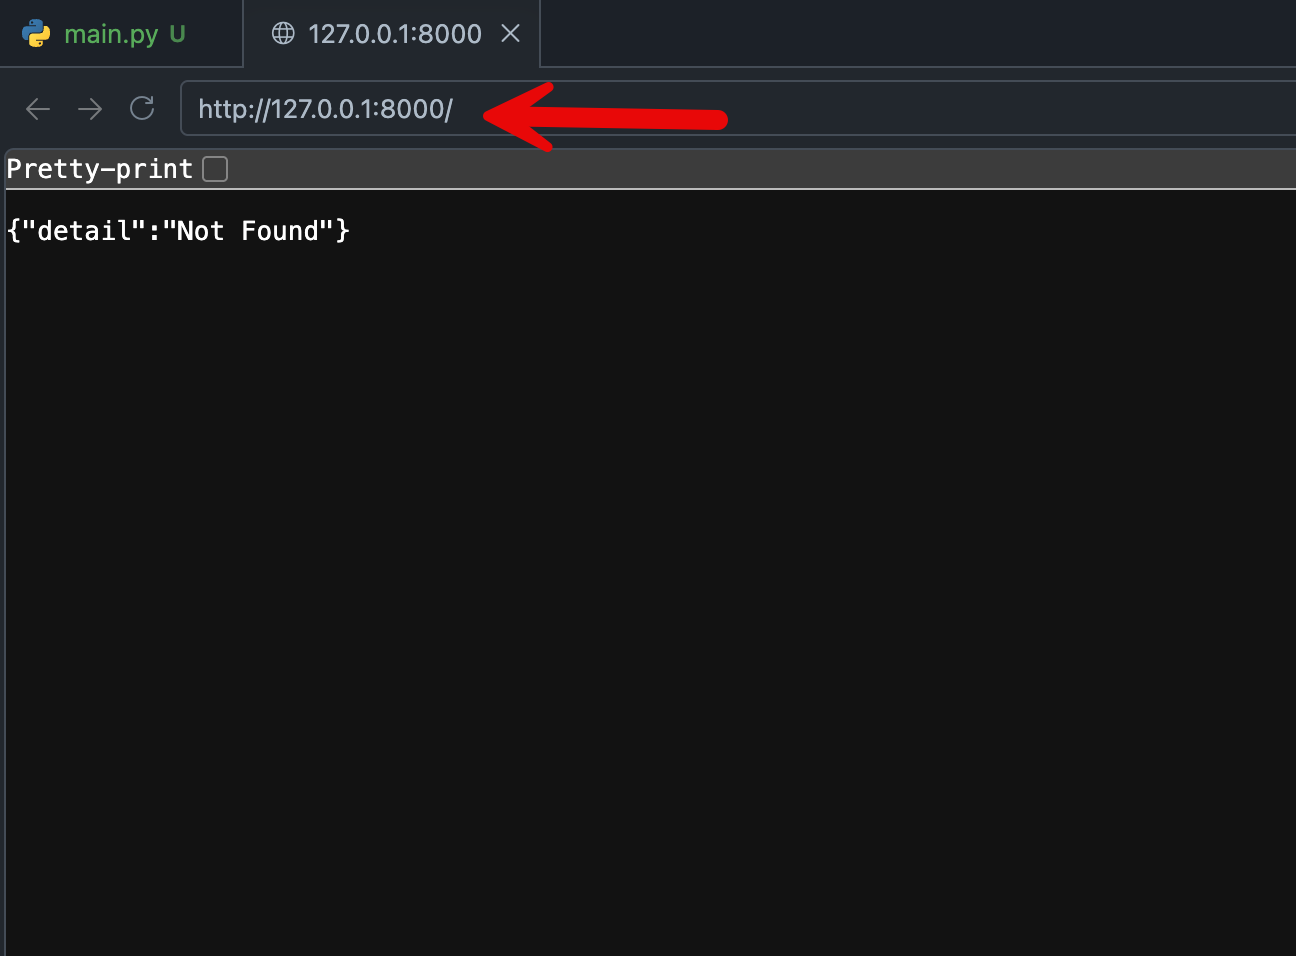
This is not an error! Well, it is an error, but it’s an expected error. The root endpoint / is not configured to handle HTTP requests. Instead go to the /docs endpoint. This is the endpoint for the built in interactive documentation included with FastAPI. It’s a quick and easy way to explore your API.
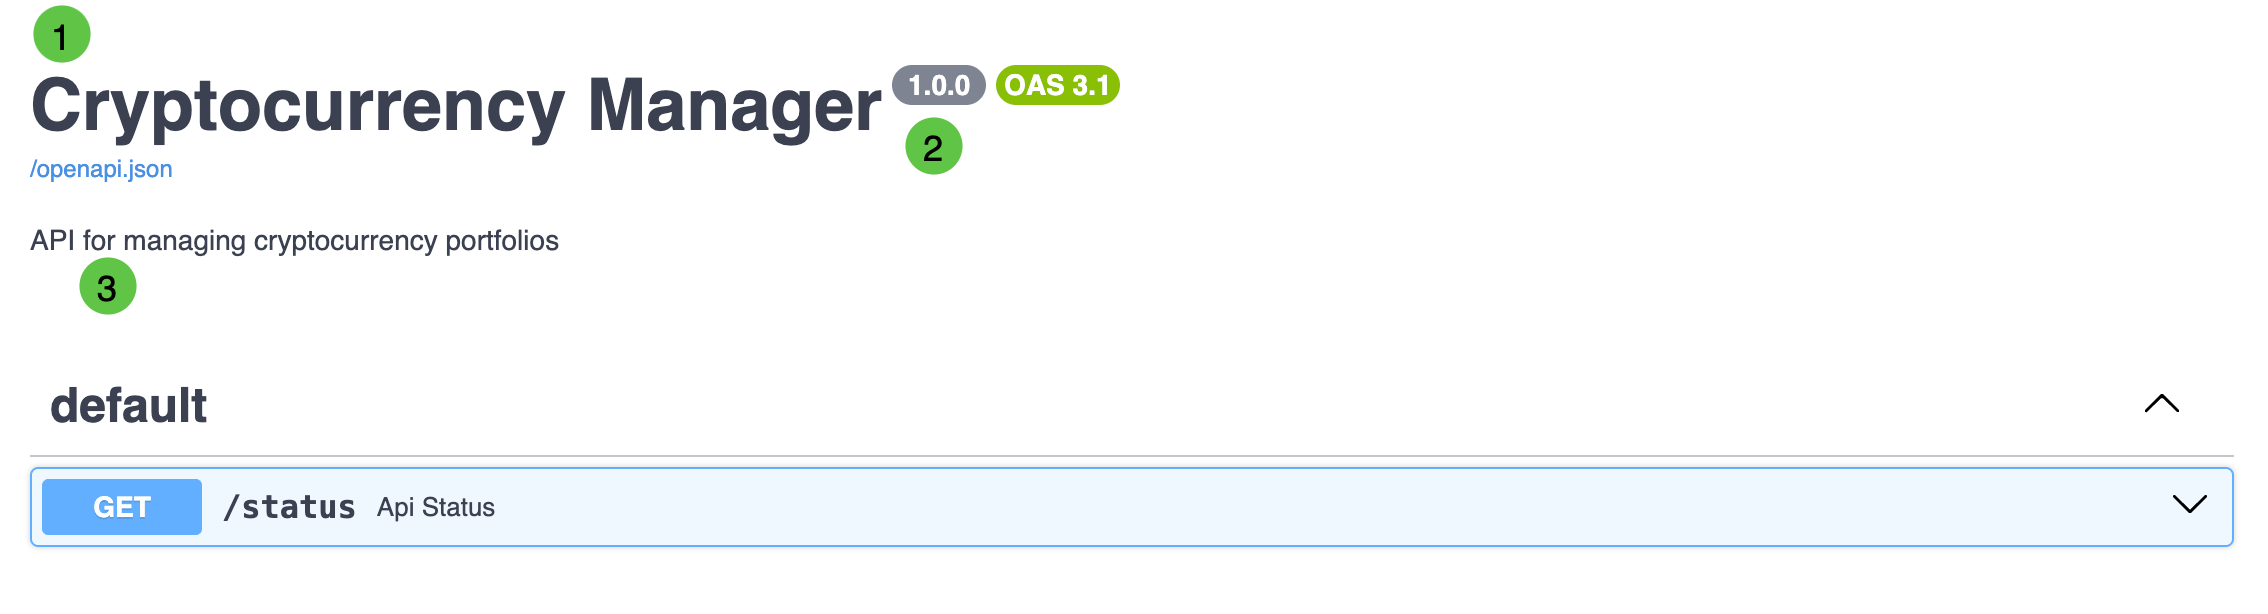
Notice the title (1), version (2) and description (3) are displayed at the top of the docs. These values came from the keyword arguments to the FastAPI initializer.
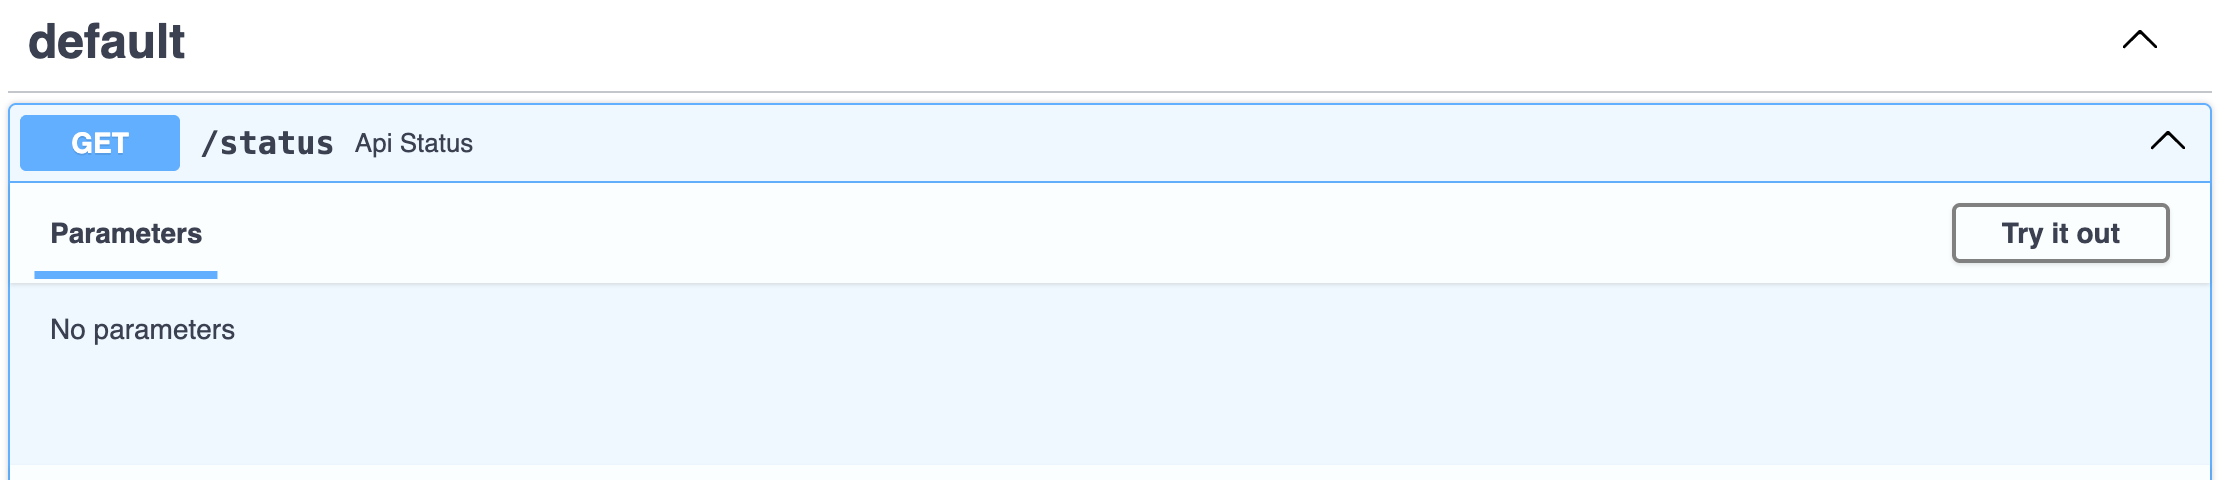
Expand the /status endpoint and click the “Try it out” button.
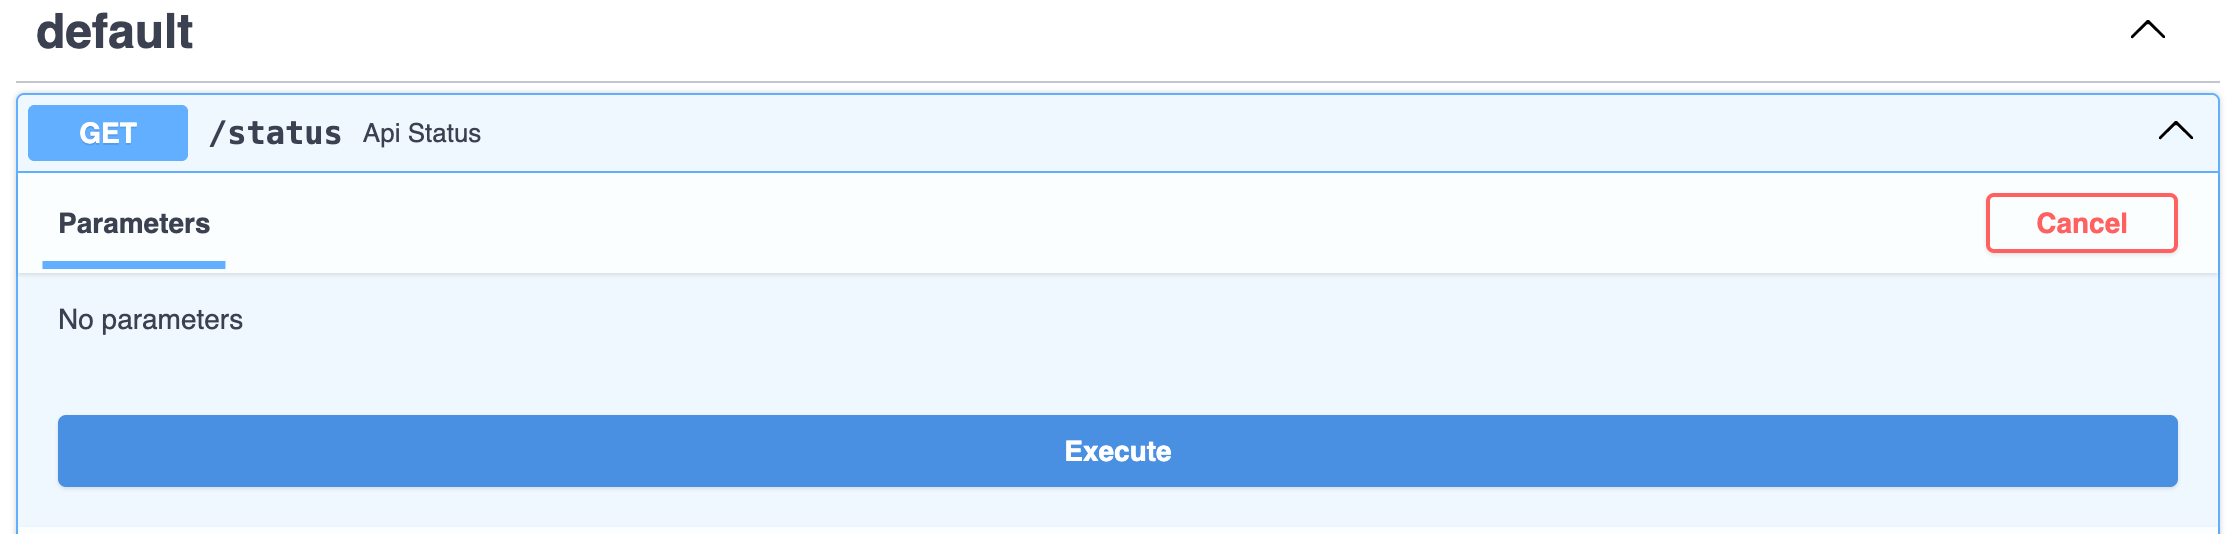
Then click the “Execute” button.
Scroll down and you should see a response with a status code of 200 and a body that contains the JSON object {"status": "ok"}.
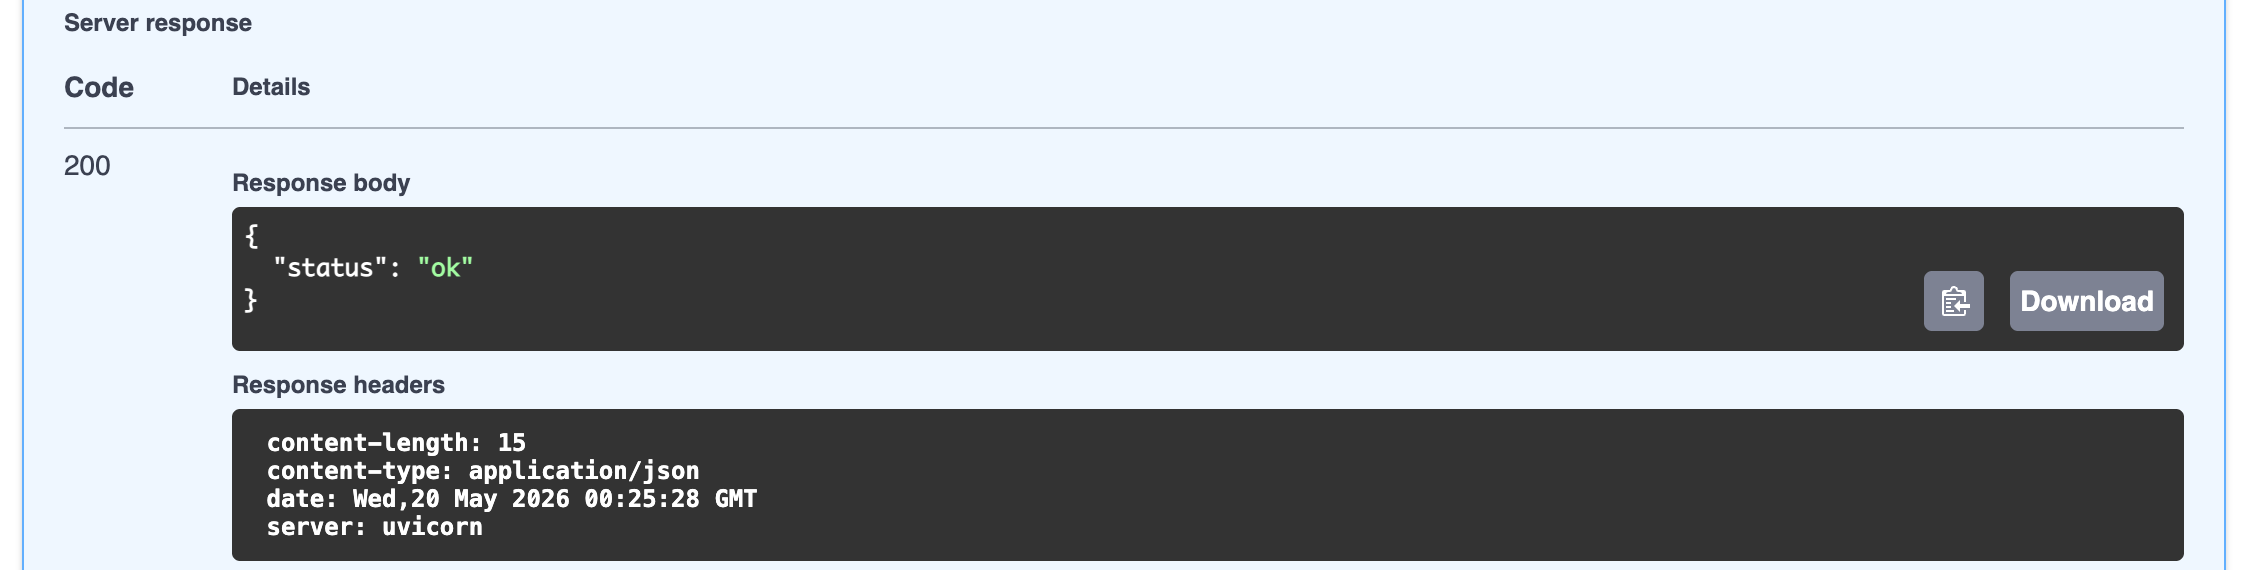
We will make extensive use of the interactive documentation in this course. But there are other tools we can use to test our API.
Using the REST Client extension
Section titled “Using the REST Client extension”The interactive documentation is great for quickly exploring your API. And it can handle a majority of use cases. But sometimes, you’ll want to dive deeper into the results of your HTTP traffic. And the interactive docs can’t handle every scenario. For the most control, let’s look at the REST Client extension you installed earlier in this section.
To use the REST Client extension first create a text file in the Explorer panel with an .http extension. I’ll call mine requests.http. In this file, you configure HTTP requests. Here is how you would make a request to the endpoint we just created.
GET http://127.0.0.1:8000/statusThis tells the extension to make a GET request to the /status endpoint we just created. Notice that a link to send the request appears over the line just written.
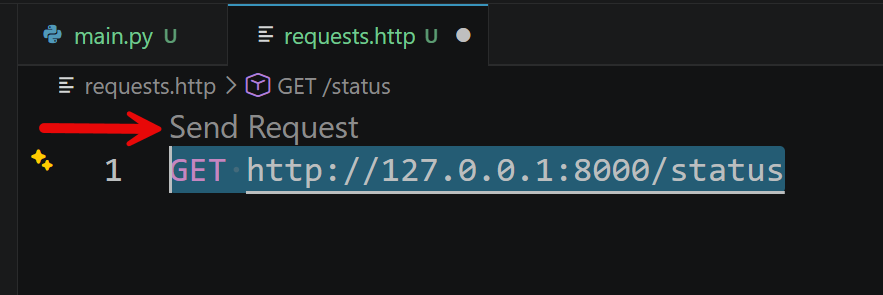
Click the link and the HTTP response opens in a new pane.
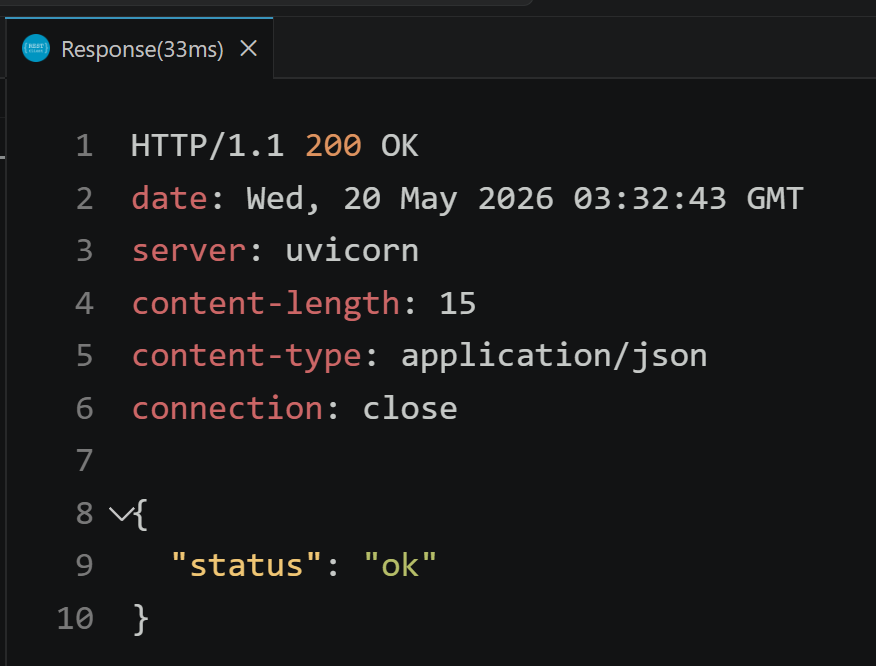
Through the course we will use the interactive docs for initial testing and exploration. But when we need to dig into the details of the response, or do something not supported by the interactive documentation, we will use REST Client. Both tools when used together make testing REST APIs simpler.